Hi there, last time I show a brief description how to install db. Now I’ll show how to create database using Oracles tool DCBA (Database Configuration Assistant) on windows.
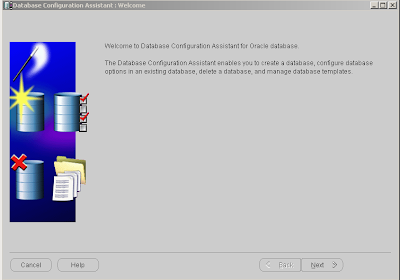
The Oracle Database Configuration Assistant (DBCA) is a Java-based tool used to create Oracle databases. If you’ve been a DBA for a few years, you probably remember the days of writing and maintaining scripts to create databases. Although it is still possible to manually create a database, the DBCA provides a flexible and robust environment in which you can not only create databases but also generate templates containing the definitions of the databases created. This provides you the ease of using a GUI-based interface with the flexibility of Oracle-generated XML-based templates that you can use to maintain a library of database definitions. You can also use the DBCA to add options to an existing database or to remove a database. We recommend using the DBCA facility to create your databases, even if you are a die-hard command-line DBA. You can use the DBCA to create a database when the Oracle software is installed, or you can invoke the DBCA later to manually create a database. In the following sections, we will show you the steps necessary to create an Oracle database using the DBCA tool.[1]
Start the DCBA: choose Start -> Programs -> Oracle Home -> Configuration and Migration Tools -> Database Configuration Assistant. Click next.
 When you install the db it comes with a few template, which are designed for commonly use.
 Click next.
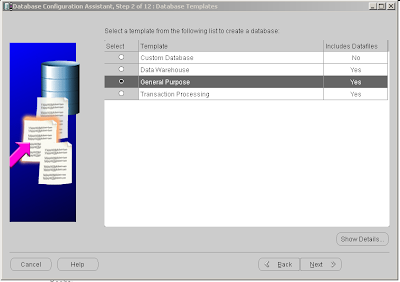 Click next.
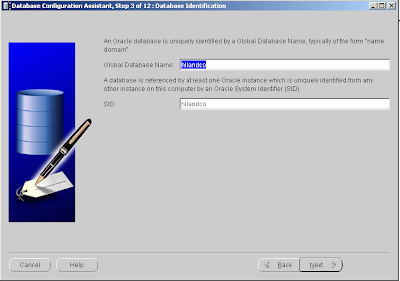
Set the Global Database Name and SID and click next.
Note that the Oracle system identification (SID) name can be maximum eight characters and must be unique on the server.
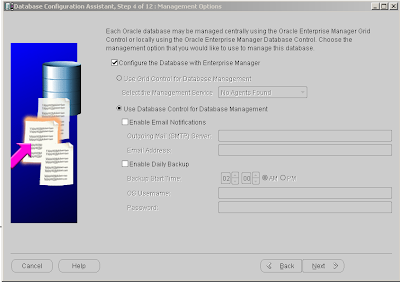
You can configure Enterprise Manager to monitor and manage database, if you had installed Oracle Management Agent DBCA will detect it, I don’t have it so everything stays on default and click next.
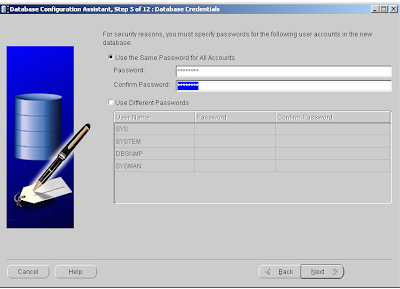
You must specify passwords for a system user accounts, you can choose do they have the same password or you can set it individually.
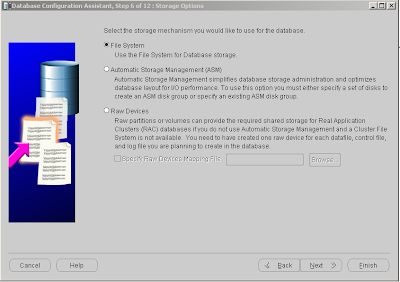
Chose the radio button next to File System, DBCA will use OFA model to create directory layout. Click next.
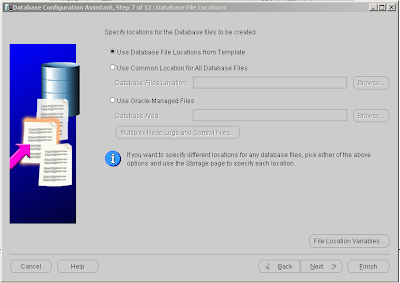
We are creating database from template so leave on default and click next.
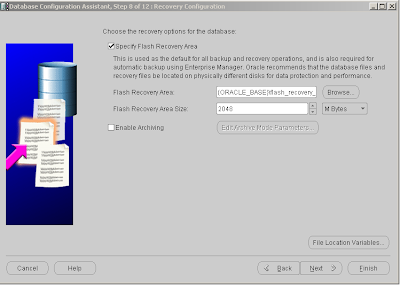
Oracle Flash Recovery is new option in Oracle 10g. Oracle uses the Flash Recovery Area to store and mange the archive logs. All file necessary to recover the database following a media failure are part of the Flash Recovery Area.
Click next.
Select which schema to install. And click next.
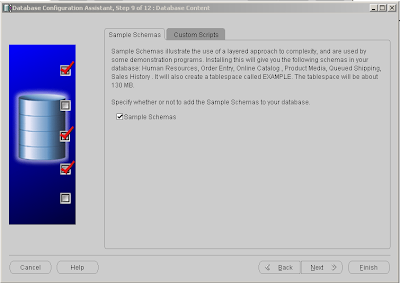
Sample Schema provides working examples of how to configure and use certain extended features of the db.
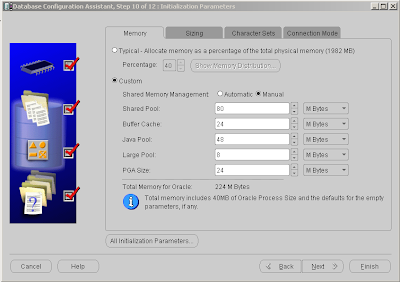
You can set memory management, but I for practicing using the default. Now you see the summary for installation:
In the following screen you can decide do you want to create a new db or new db template
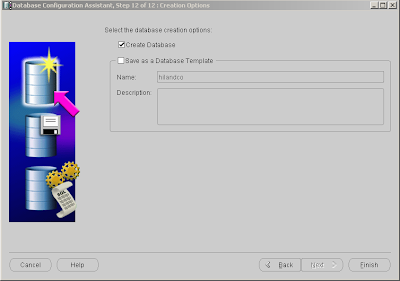
Select Create Database and click Finish
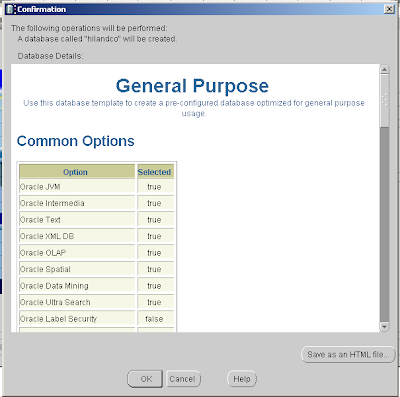
Click ok to accept confirmation.
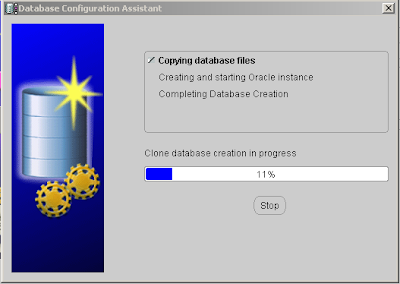
Depending on your system and what are you installing, it may take a wile.

Click on Password Management if you want to unlock/lock some users and also change passwords.
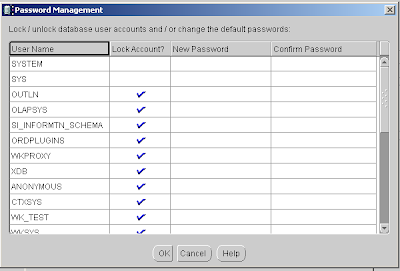
Click ok to confirm.
Click on exit.
Books:
[1] OCA: Oracle 10g™ Administration I Study Guide, Chip Dawes, Bob Bryla, Joseph C. Johnson, Matthew Weishan; ISBN: 0-821-4367-9
janos ujvari
May 28, 2008


